
Providers and models
Connect an API, a supported subscription, or a local server, then choose your default model.
Understand the three separate choices
Clarvis keeps provider setup, model selection, and reasoning effort separate:
/settings/providersowns connections, credentials, and the models available from each provider./modelchooses the default model for future Lead runs./effortchooses the default reasoning effort supported by that model.
Adding a model does not silently make it the default. Editing a provider also does not overwrite the current model or effort.
The one exception is the dedicated first-run setup: its job is to create the first provider and model, so it saves that model as the global default when setup completes. See Getting started for the API, subscription, and local provider paths.
Review configured providers
Open /settings/providers. The list shows the API type, number of configured models, credential status, configuration source, and which provider owns the current default model.
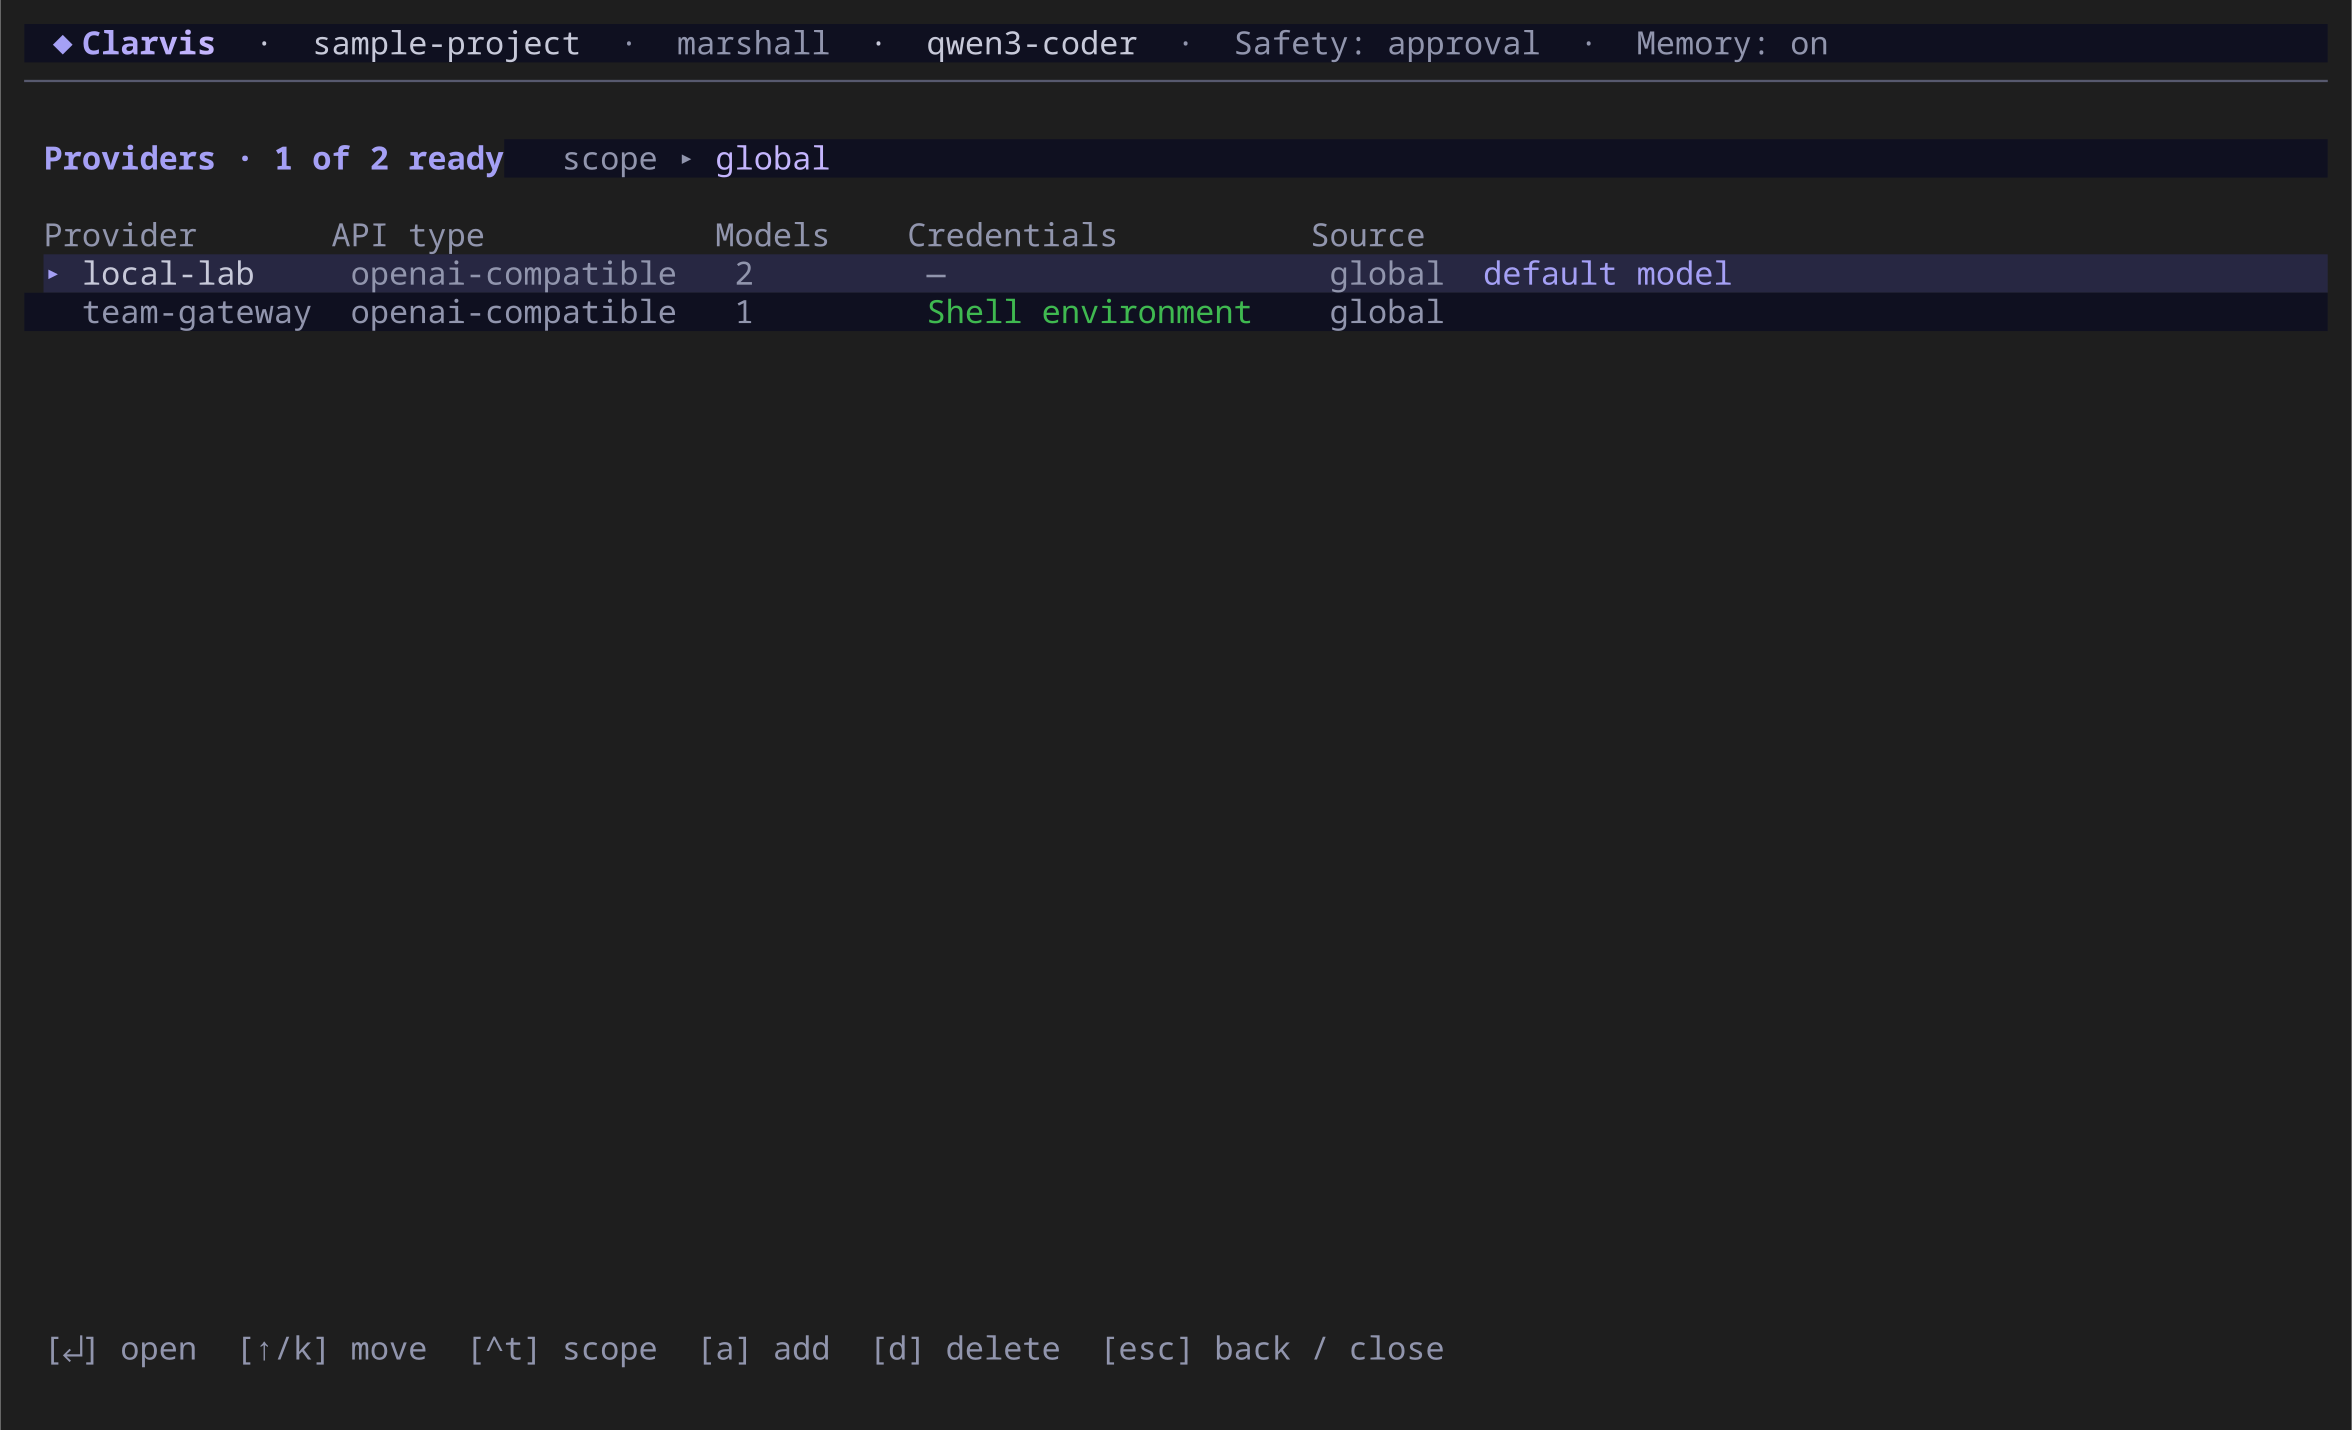
Press Ctrl+T to switch between global and workspace scope. Use global scope for a connection you want in every project. Use workspace scope for a project-specific API endpoint or model set. Subscription connections are personal and must be configured globally; a repository cannot create, replace, or redirect them.
Add a provider from the catalog
- Press A on the Providers screen.
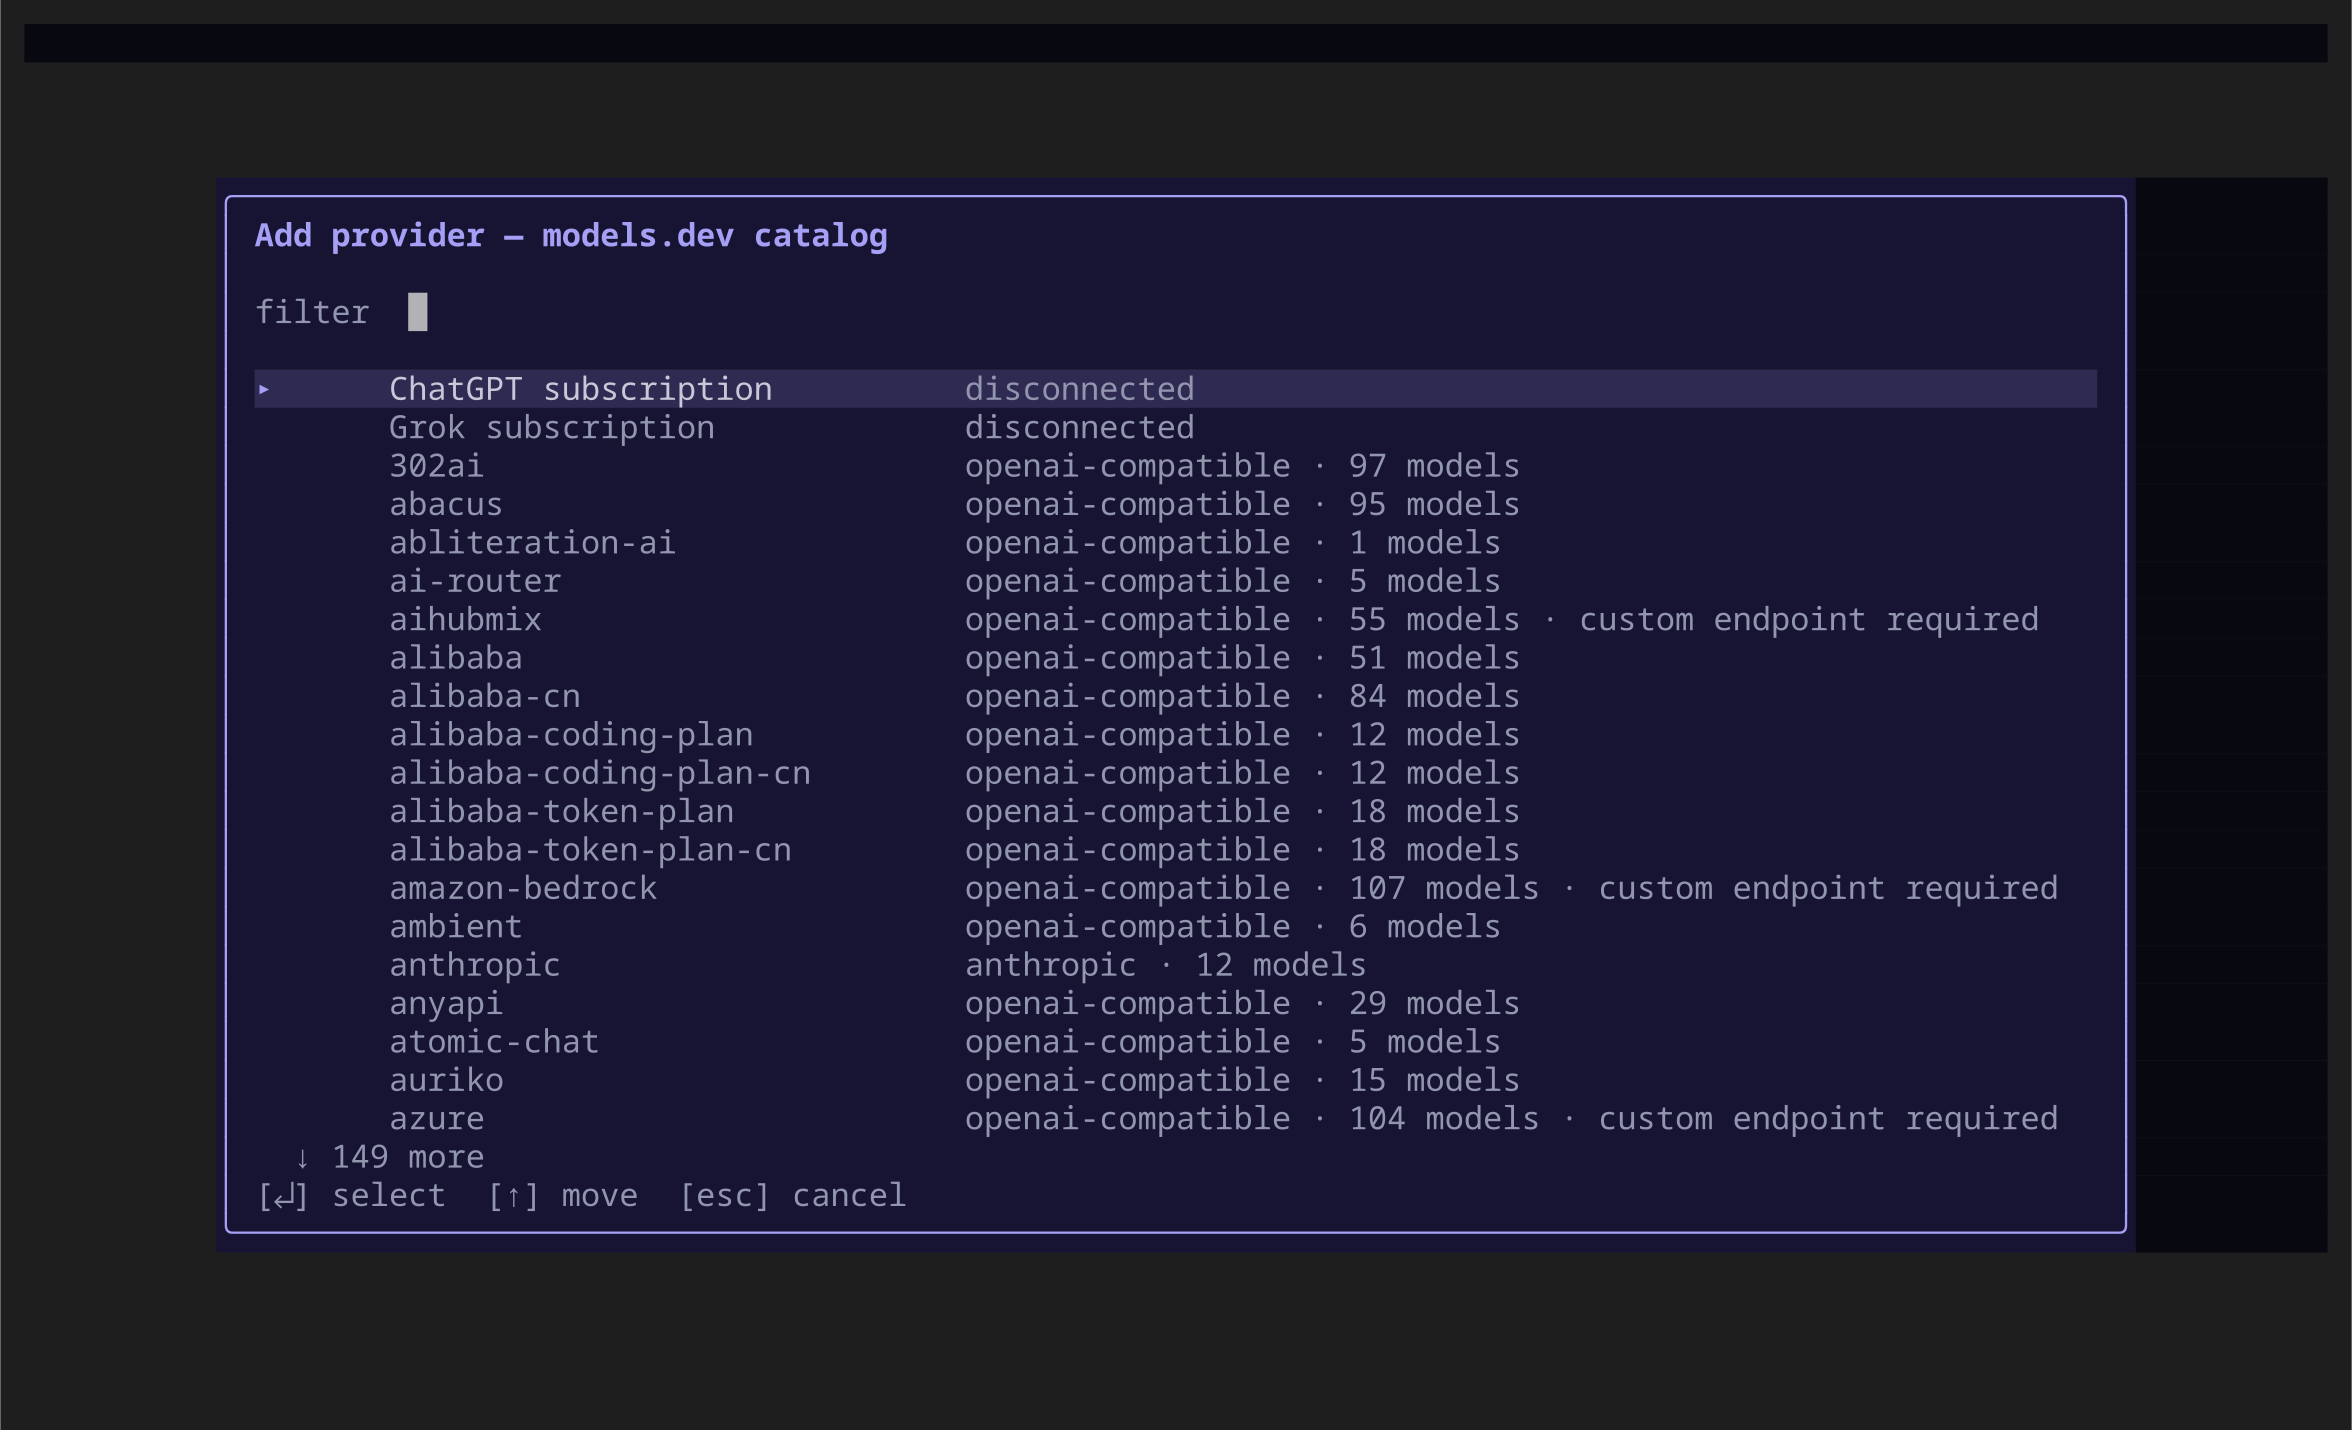
- Type part of a provider name to filter the models.dev catalog.
- Select the provider and press Enter.
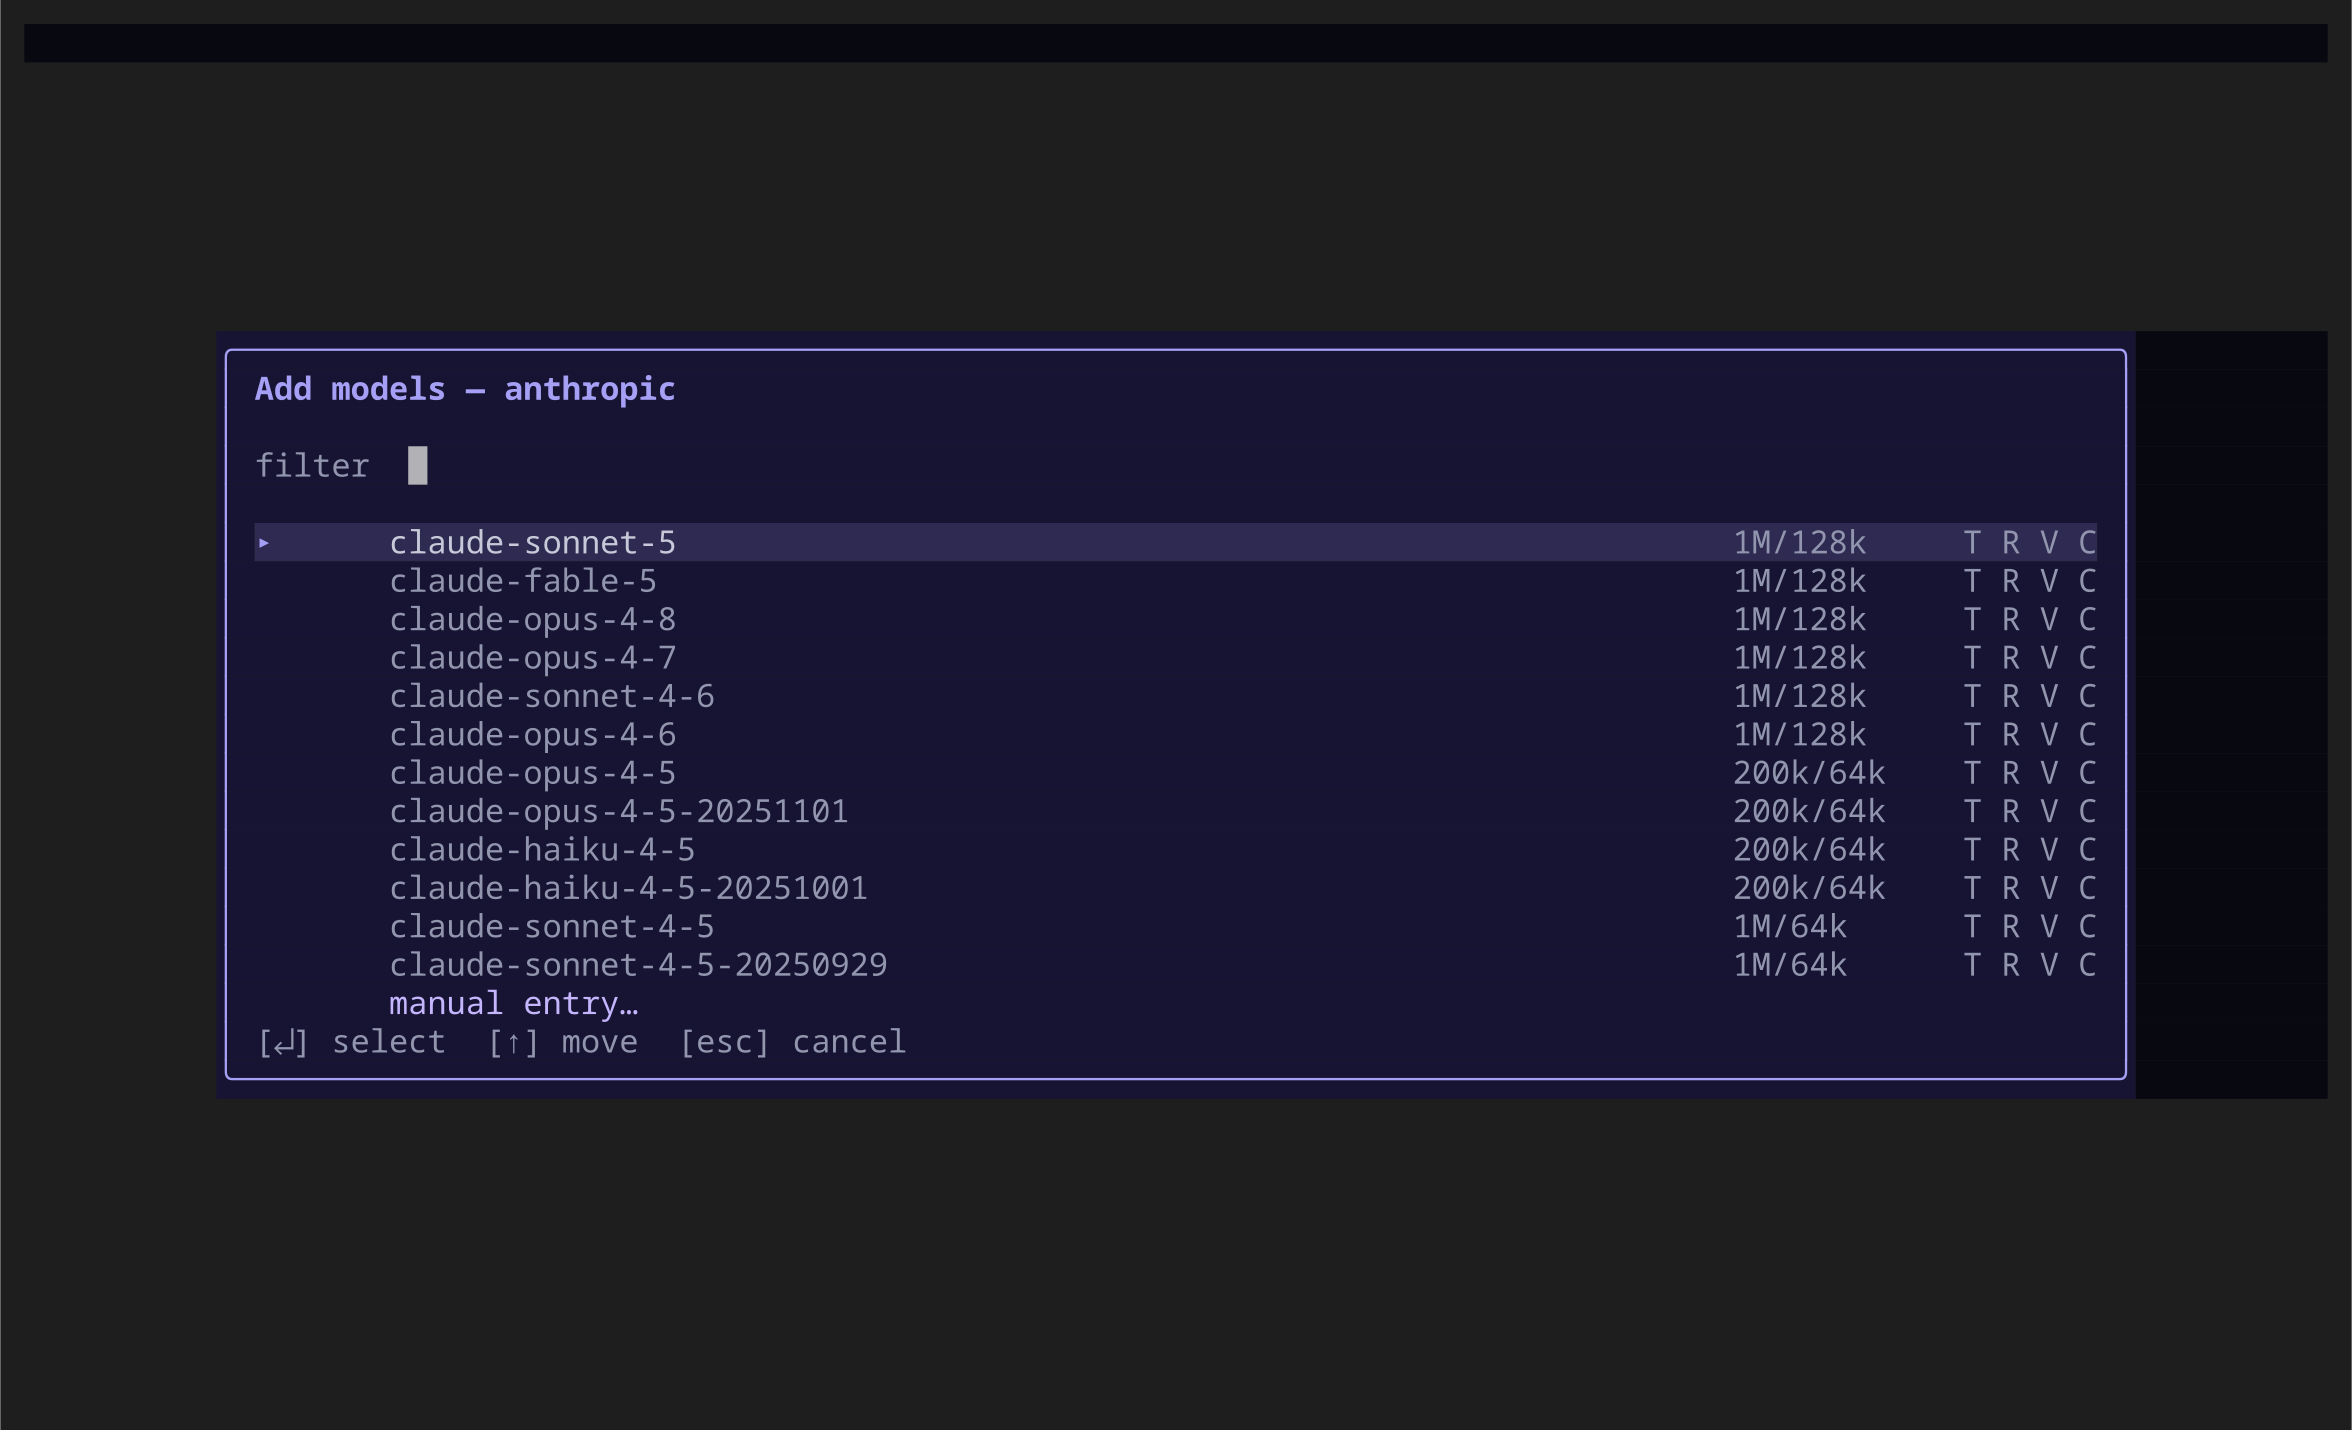
- Select one or more models. The picker stays open so you can add or remove several models.
- Press Escape to return to the provider details. If its credential variable is unresolved, Clarvis opens the API-key prompt at this point.
- Review the endpoint, credential variable, model limits, headers, and request-body additions.
- Press Ctrl+S to save the staged provider and model changes.
The same dialog displays Clarvis's beta subscription rows. They are separate from models.dev and show as unavailable when the build or host does not provide that authorization integration.
After selecting a catalog provider, Clarvis opens its model picker. The right-hand columns summarize published context/output limits and capabilities. Select manual entry… if the model identifier you need is not listed.
Use /refresh if the locally cached models.dev catalog is stale. The refresh changes the catalog, not your saved provider or model choices.
If the catalog is unavailable before the main workspace opens, exit and run:
clarvis --refresh-models
clarvis
Add a custom or local provider
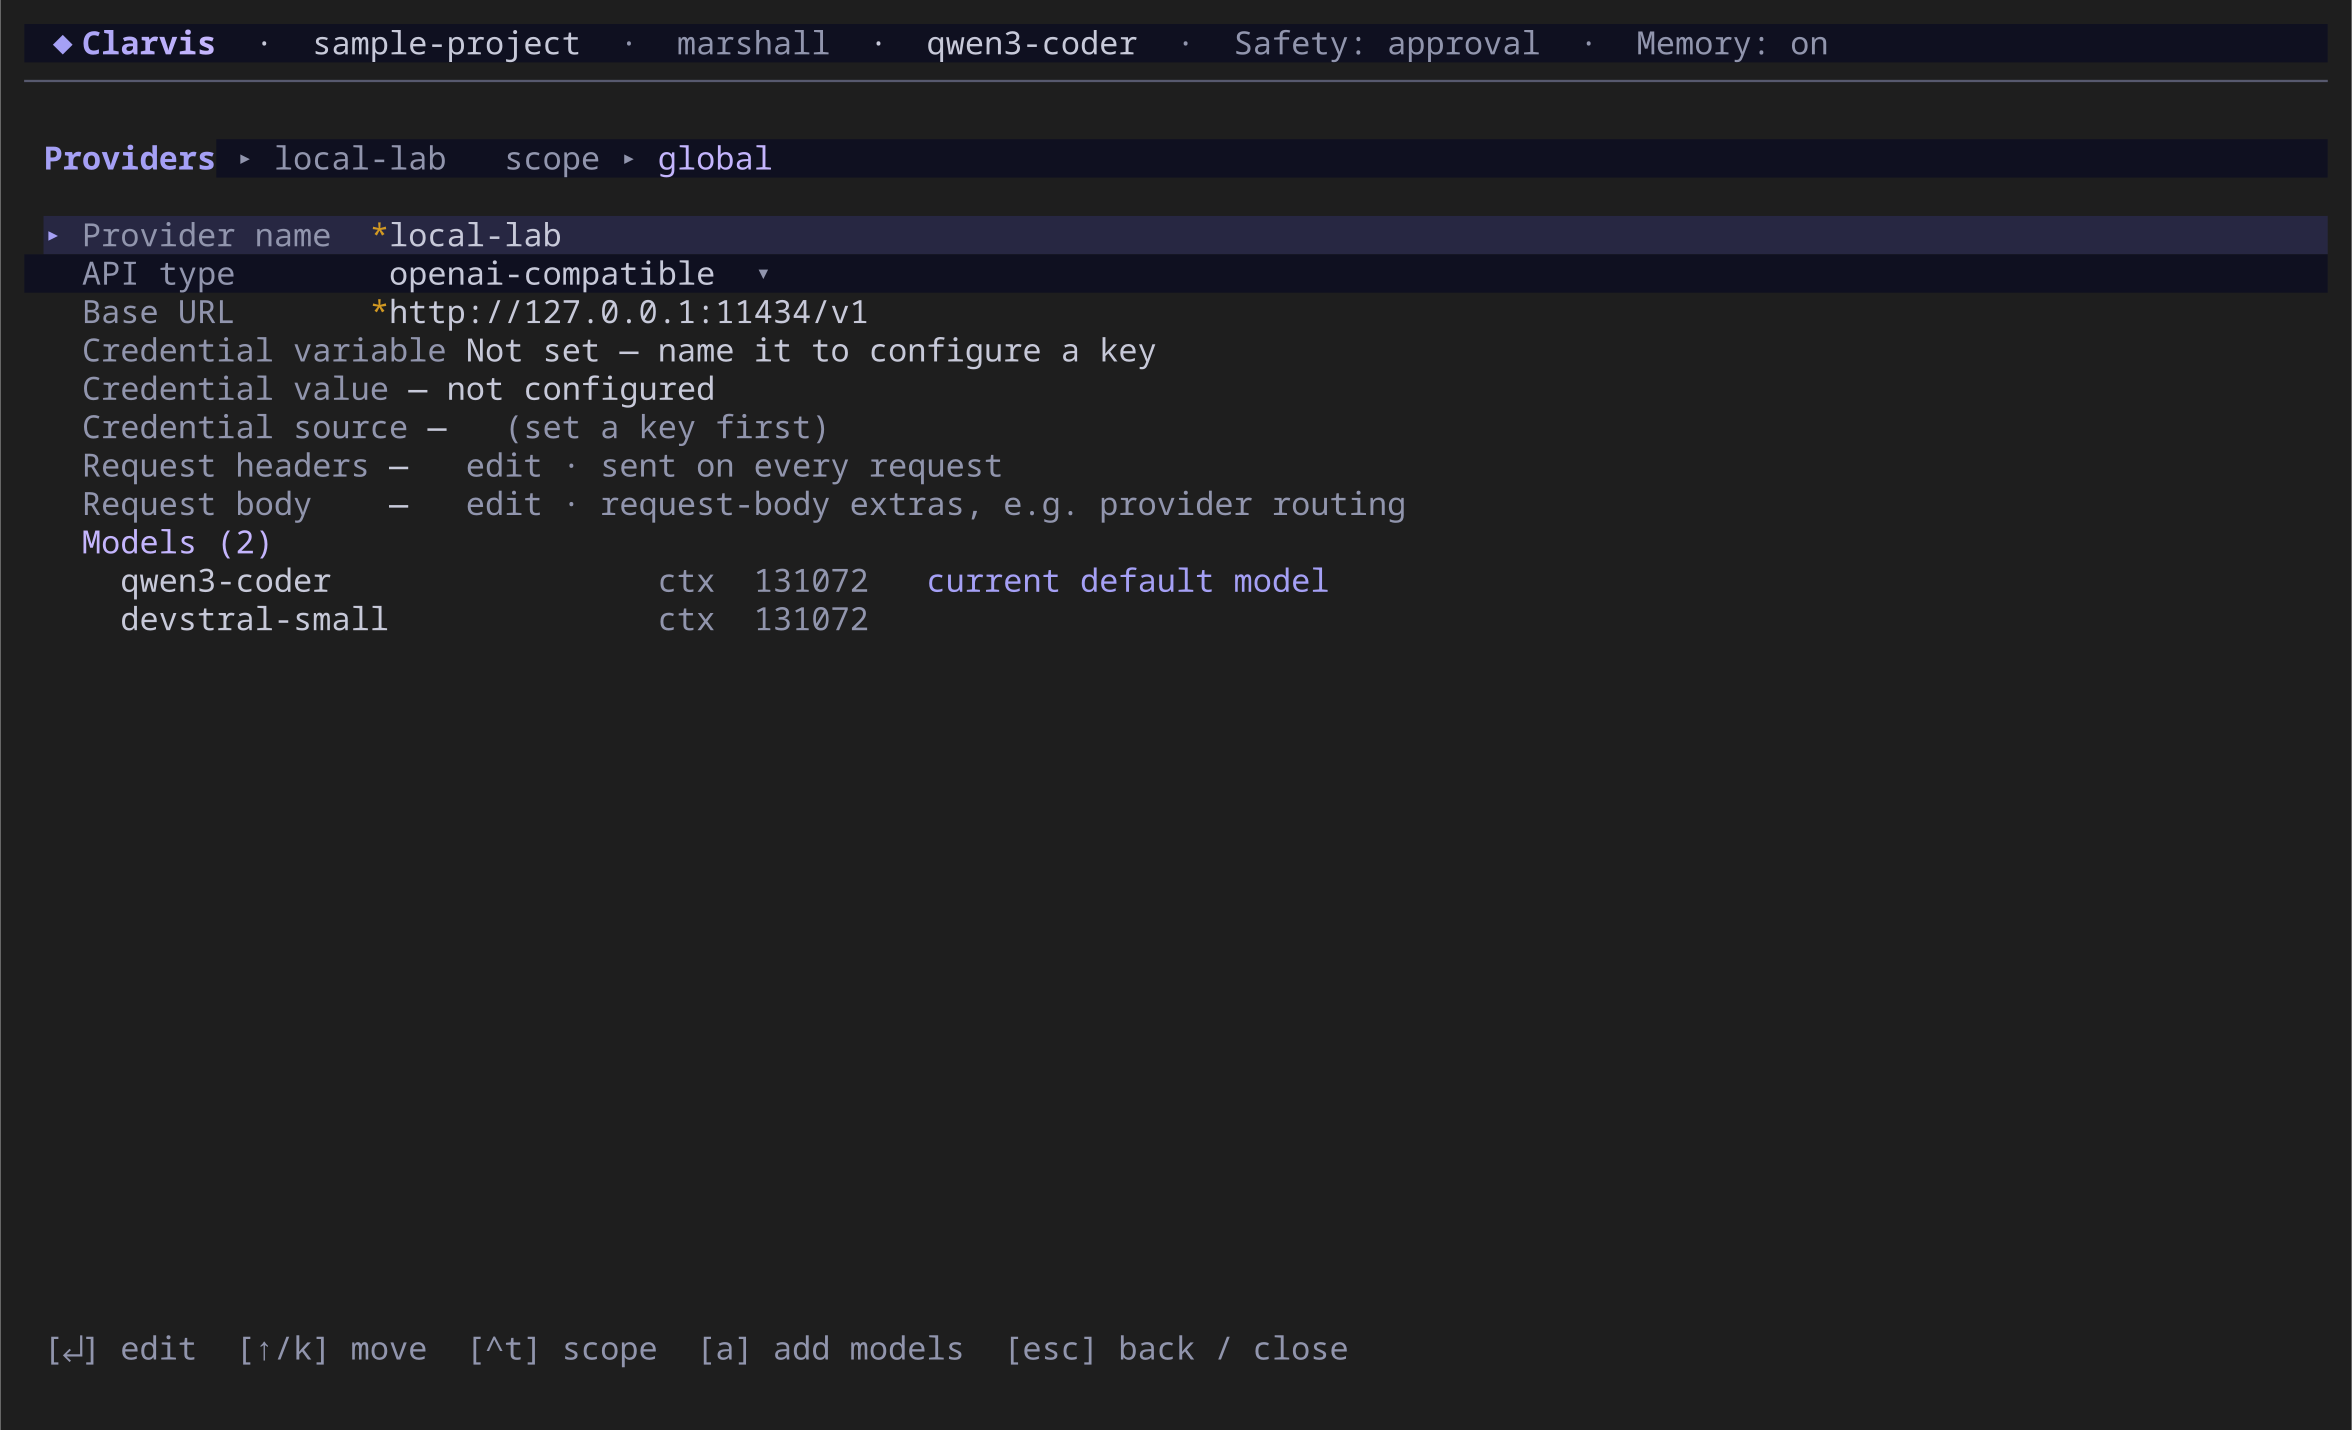
Use manual entry for a local server, private gateway, or provider absent from the catalog:
- Open the Add provider dialog and type
manual. - Select manual entry….
- Give the provider a stable name.
- Choose its API type. For an OpenAI-compatible endpoint, choose
openai-compatible. - Set the complete HTTP or HTTPS API root, such as
http://127.0.0.1:11434/v1. - Name the environment variable that holds the API key. Leave it unset only when the endpoint genuinely requires no key.
- Press A from the provider detail to add a model ID.
- Set a positive context-window size and review the optional output, cache, header, and body settings.
- Press Ctrl+S to save.
For example, a provider named local-lab with model ID qwen2.5-coder:7b becomes the full model reference local-lab/qwen2.5-coder:7b. Enter the exact ID expected by the server; provider-native tags after : are supported.
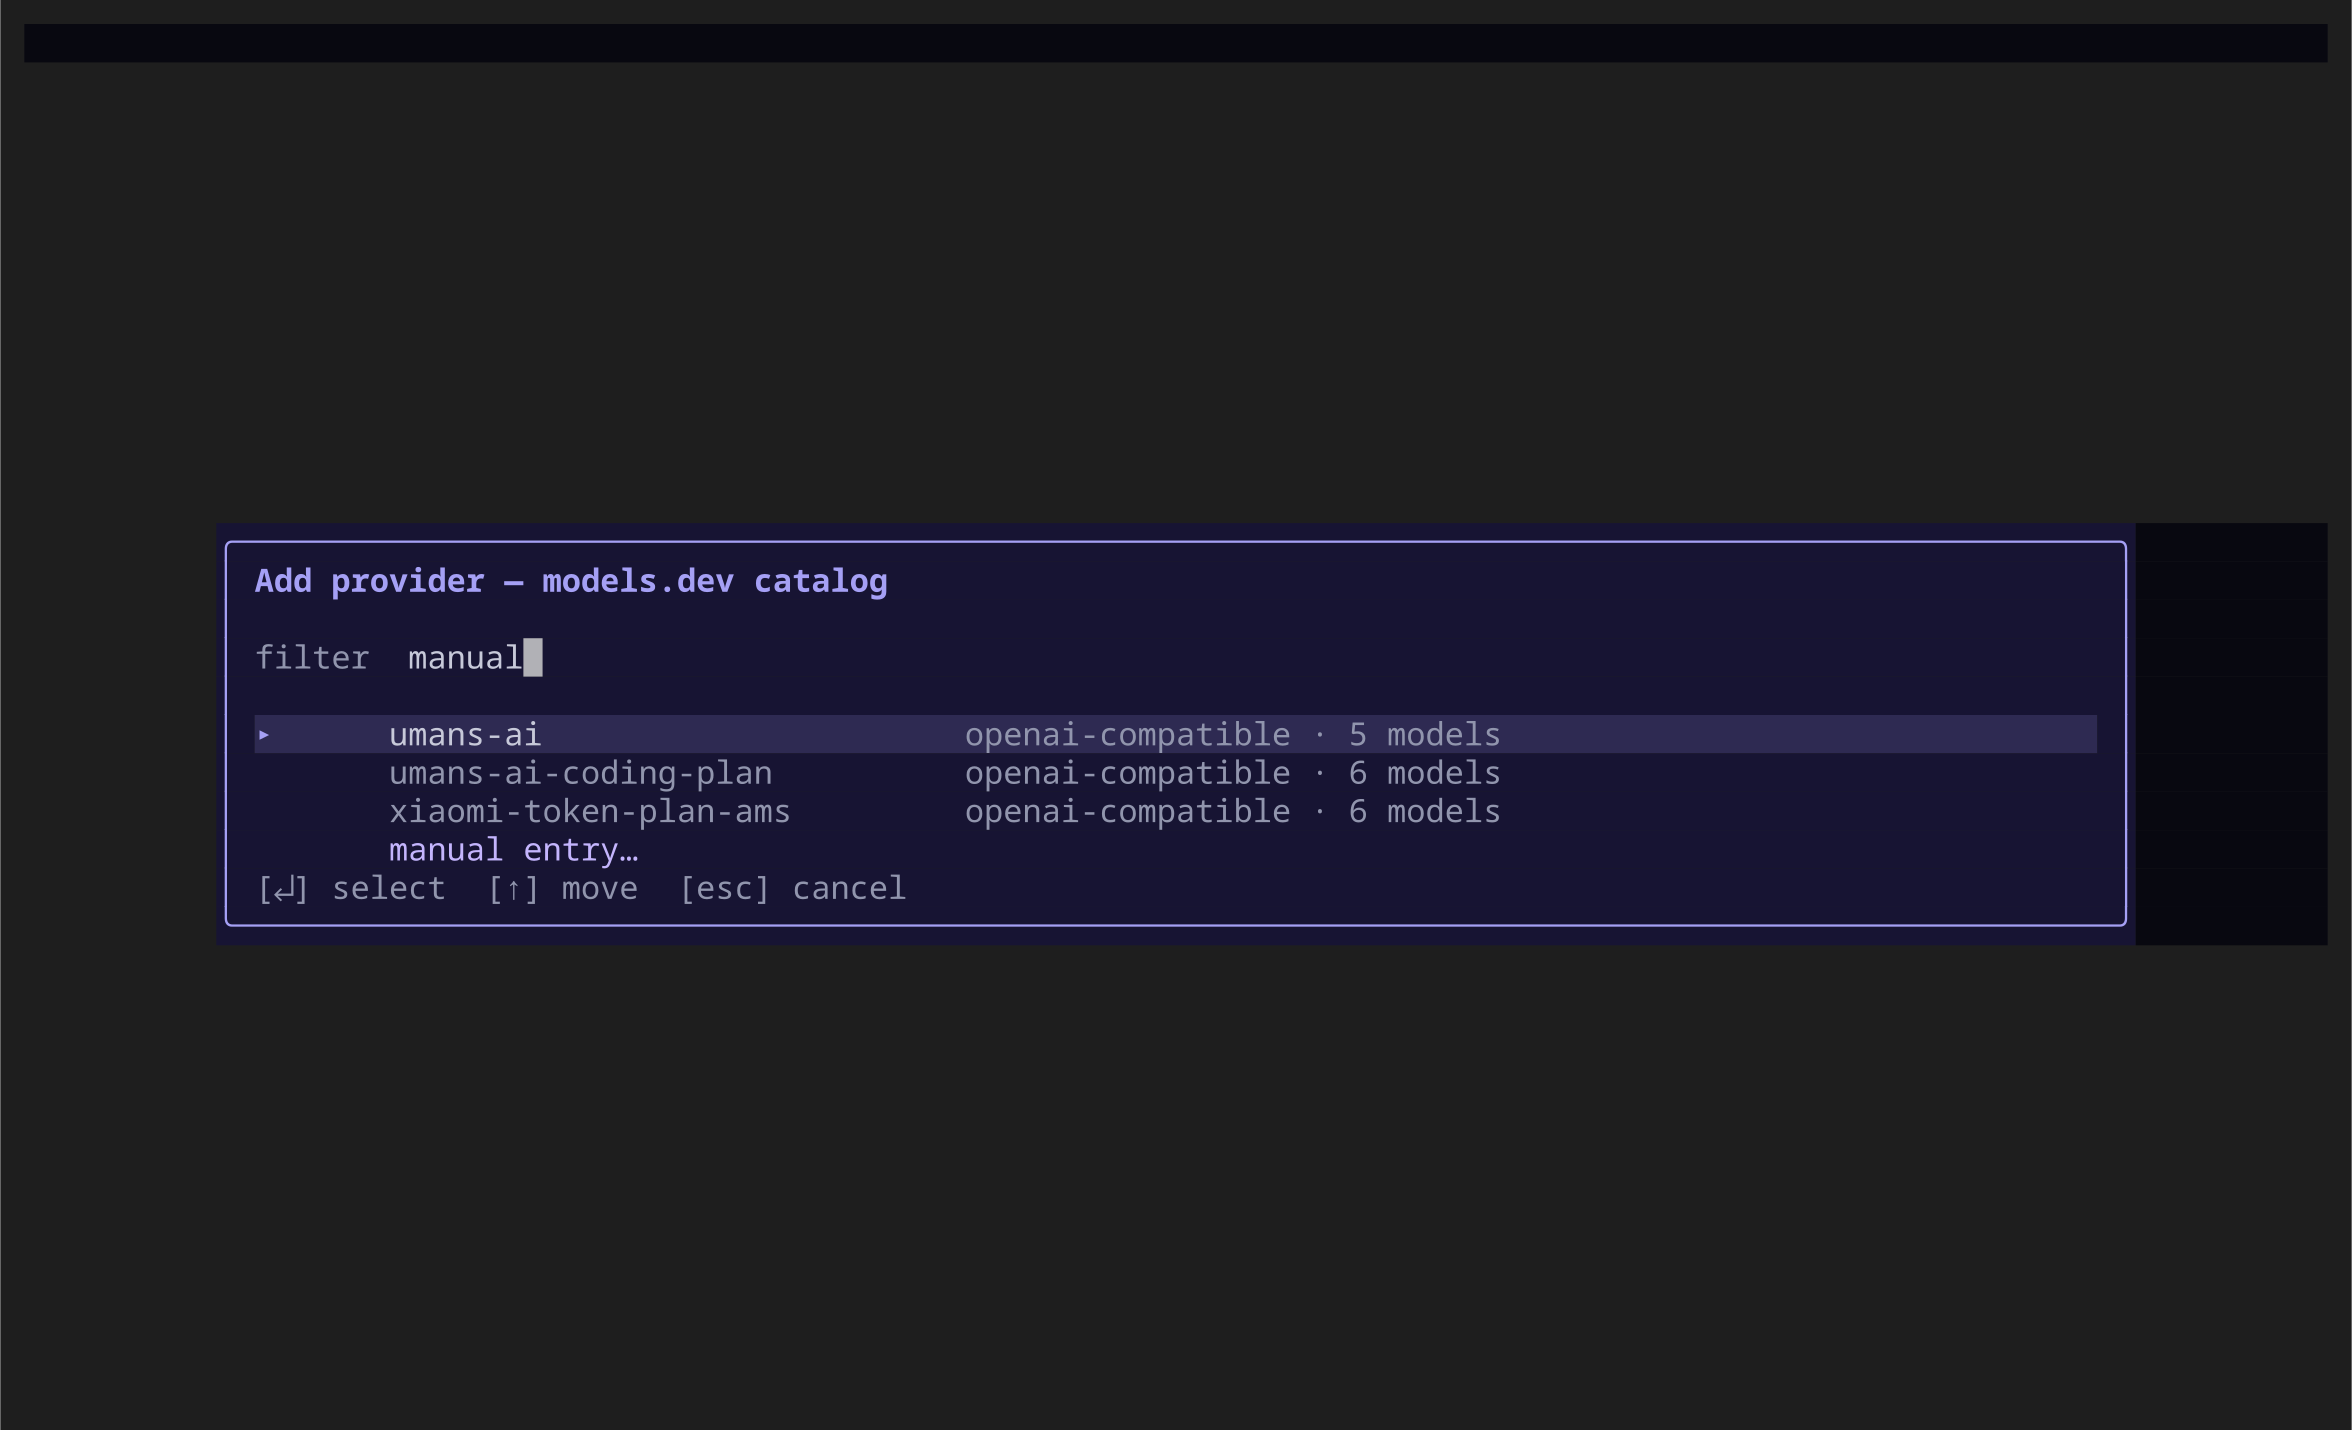
Open a provider with Enter to edit it later. Press A there to add models and move onto a model row to inspect its limits. Provider changes remain staged until Ctrl+S; leaving a dirty screen asks before discarding them.
WARNING
Never put a literal API key in settings.json. Name an environment variable or use the credential value flow. Clarvis does not render a saved secret back into the terminal.
Connect a beta subscription
Available subscriptions and models depend on the provider and your account. Clarvis subscription support is in beta and is not a provider endorsement. If an option is unavailable, use an API or a compatible server.
Automated tests use simulated connections; they do not prove that a real account has access. Before relying on the integration, test sign-in, available models, connection renewal, and a real task with your account.
Choose the subscription row from Add provider and follow the displayed device flow:
- Start the connection.
- Open or copy the verification URL only when you are ready.
- Enter the public device code on the provider's site.
- Return to Clarvis and wait for the entitled model catalog.
- Select the models you want available.
Provider detail then offers reauthentication or confirmed disconnect instead of API-key and endpoint fields. Adding models reloads the authenticated entitlement catalog; it does not substitute the public provider-name catalog.
Choose the default model
Open /model. Press Ctrl+T if you want a workspace override instead of the global default, move to a configured model, and press Enter. The change is saved immediately and applies to the next run.
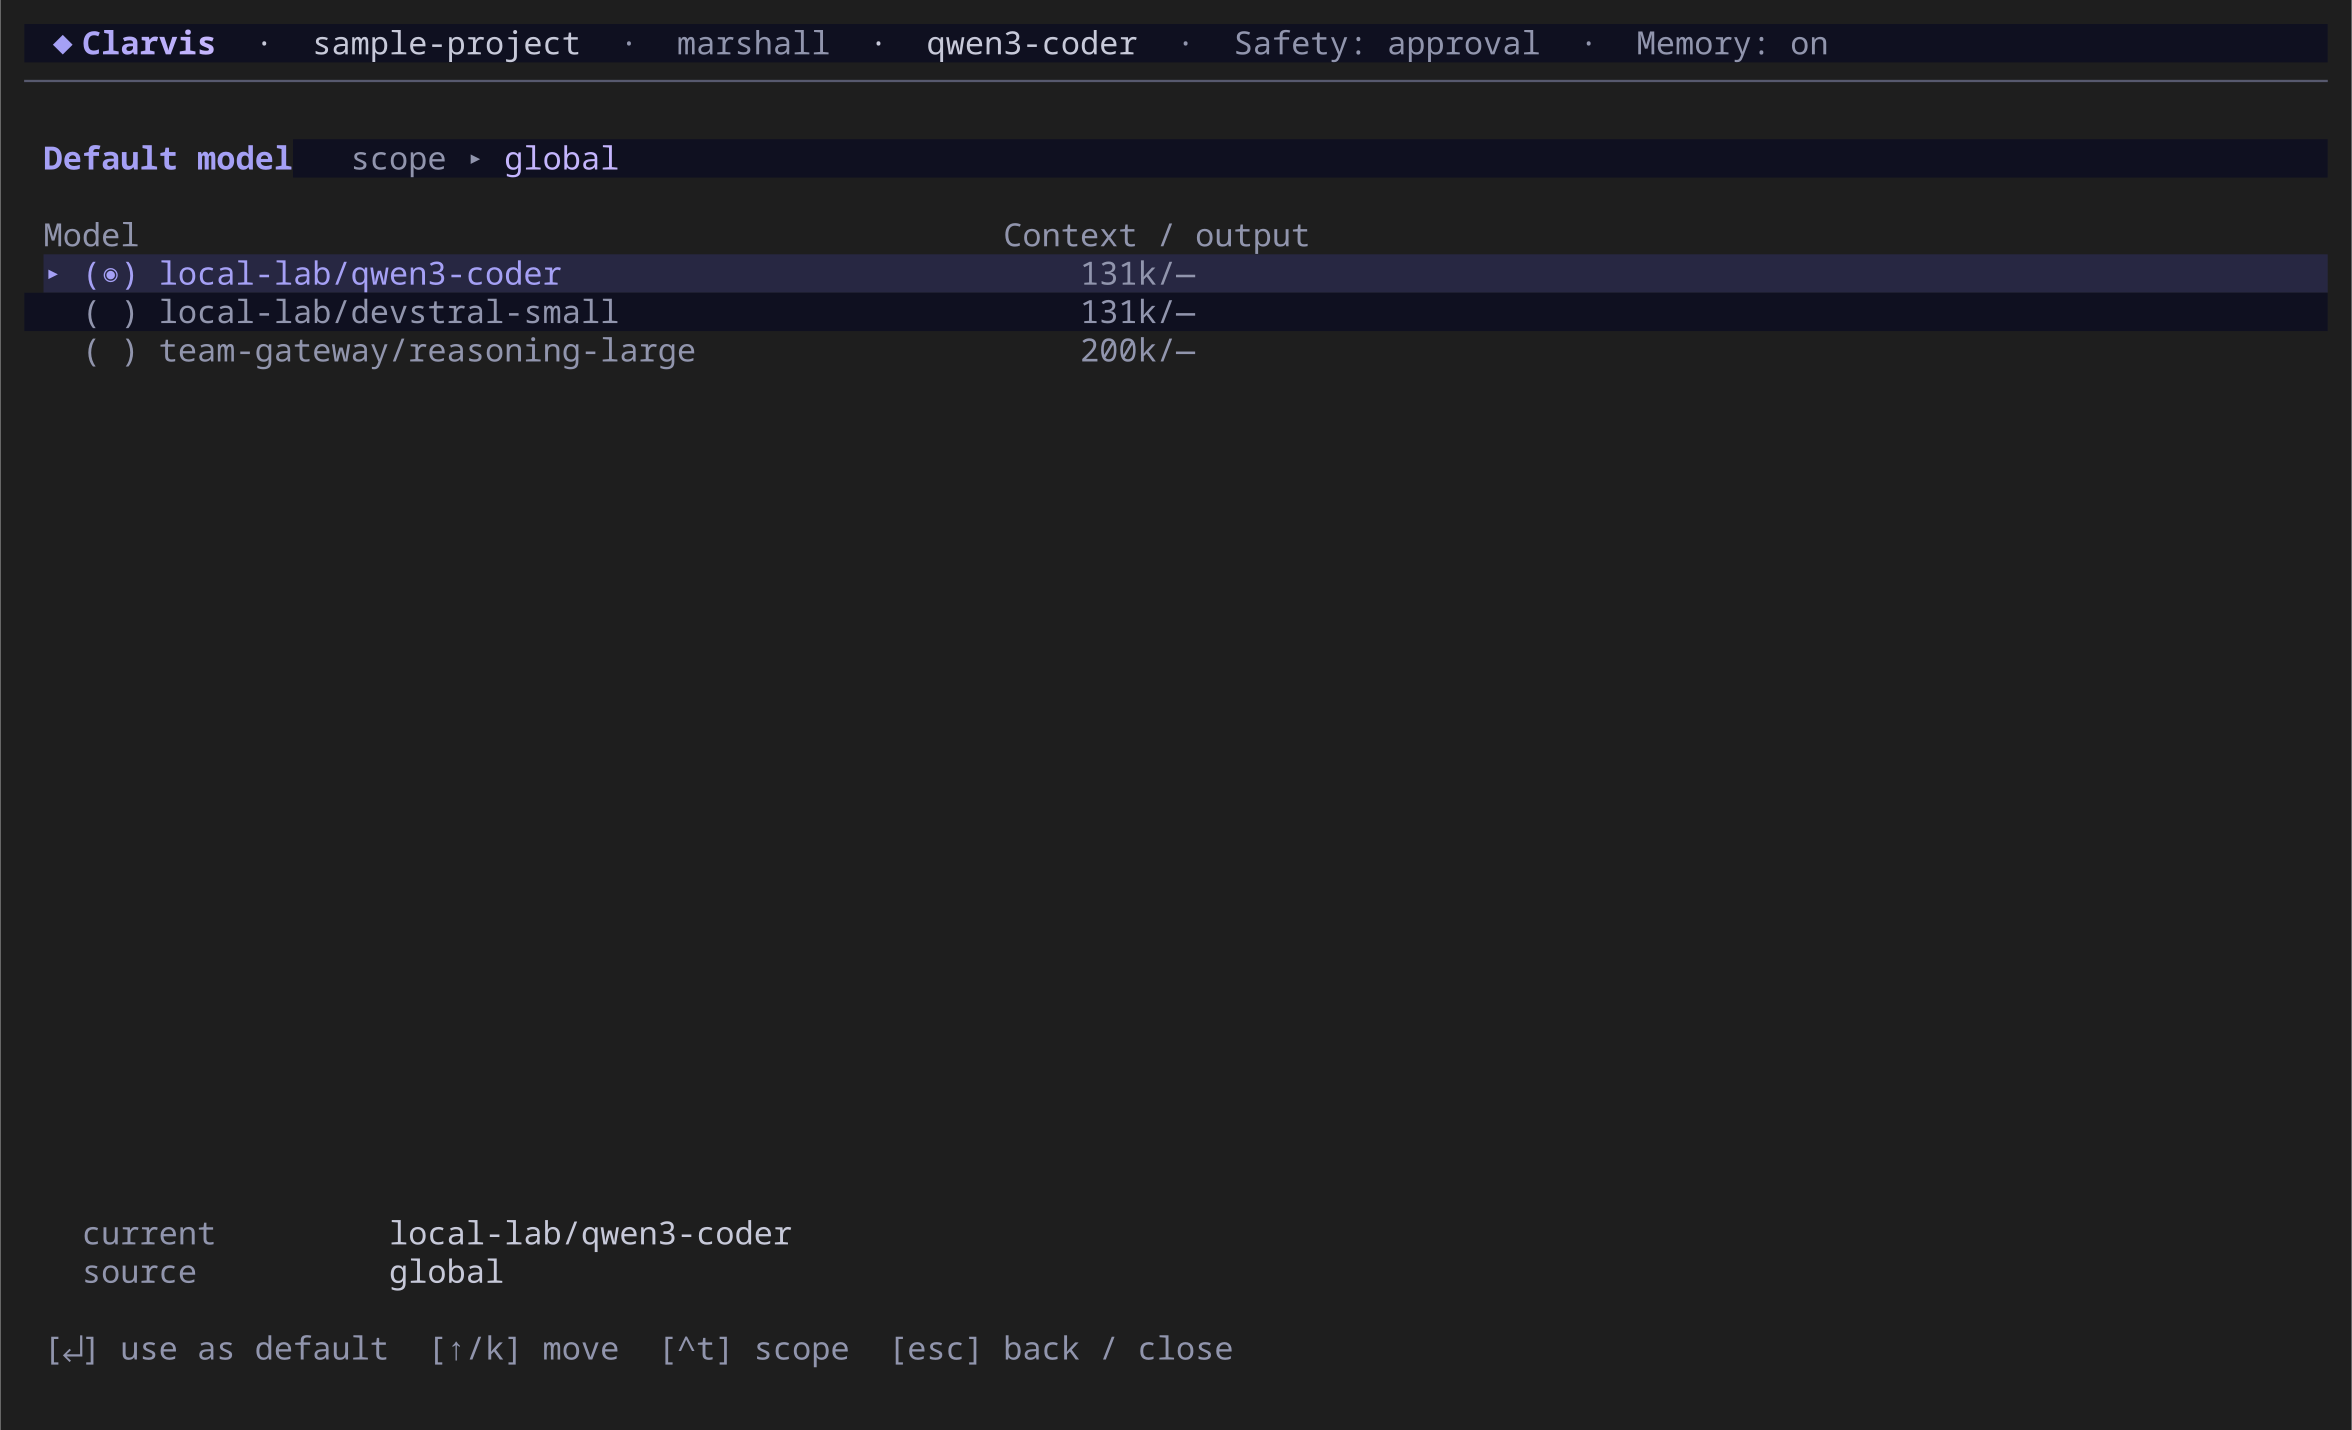
Choosing a model also applies its recommended effort when Clarvis has model metadata for that choice. If switching to a smaller context window would not fit the current session, Clarvis asks before permanently evicting older context; canceling keeps the current model.
The user default is authoritative for the Lead. A sub-agent may still declare its own model in its agent profile; otherwise it falls back to the user default.
Choose the default reasoning effort
Open /effort, choose one of the levels the current default model supports, and press Enter. Select Provider default when the provider should decide. The change is immediate and applies to the next run.
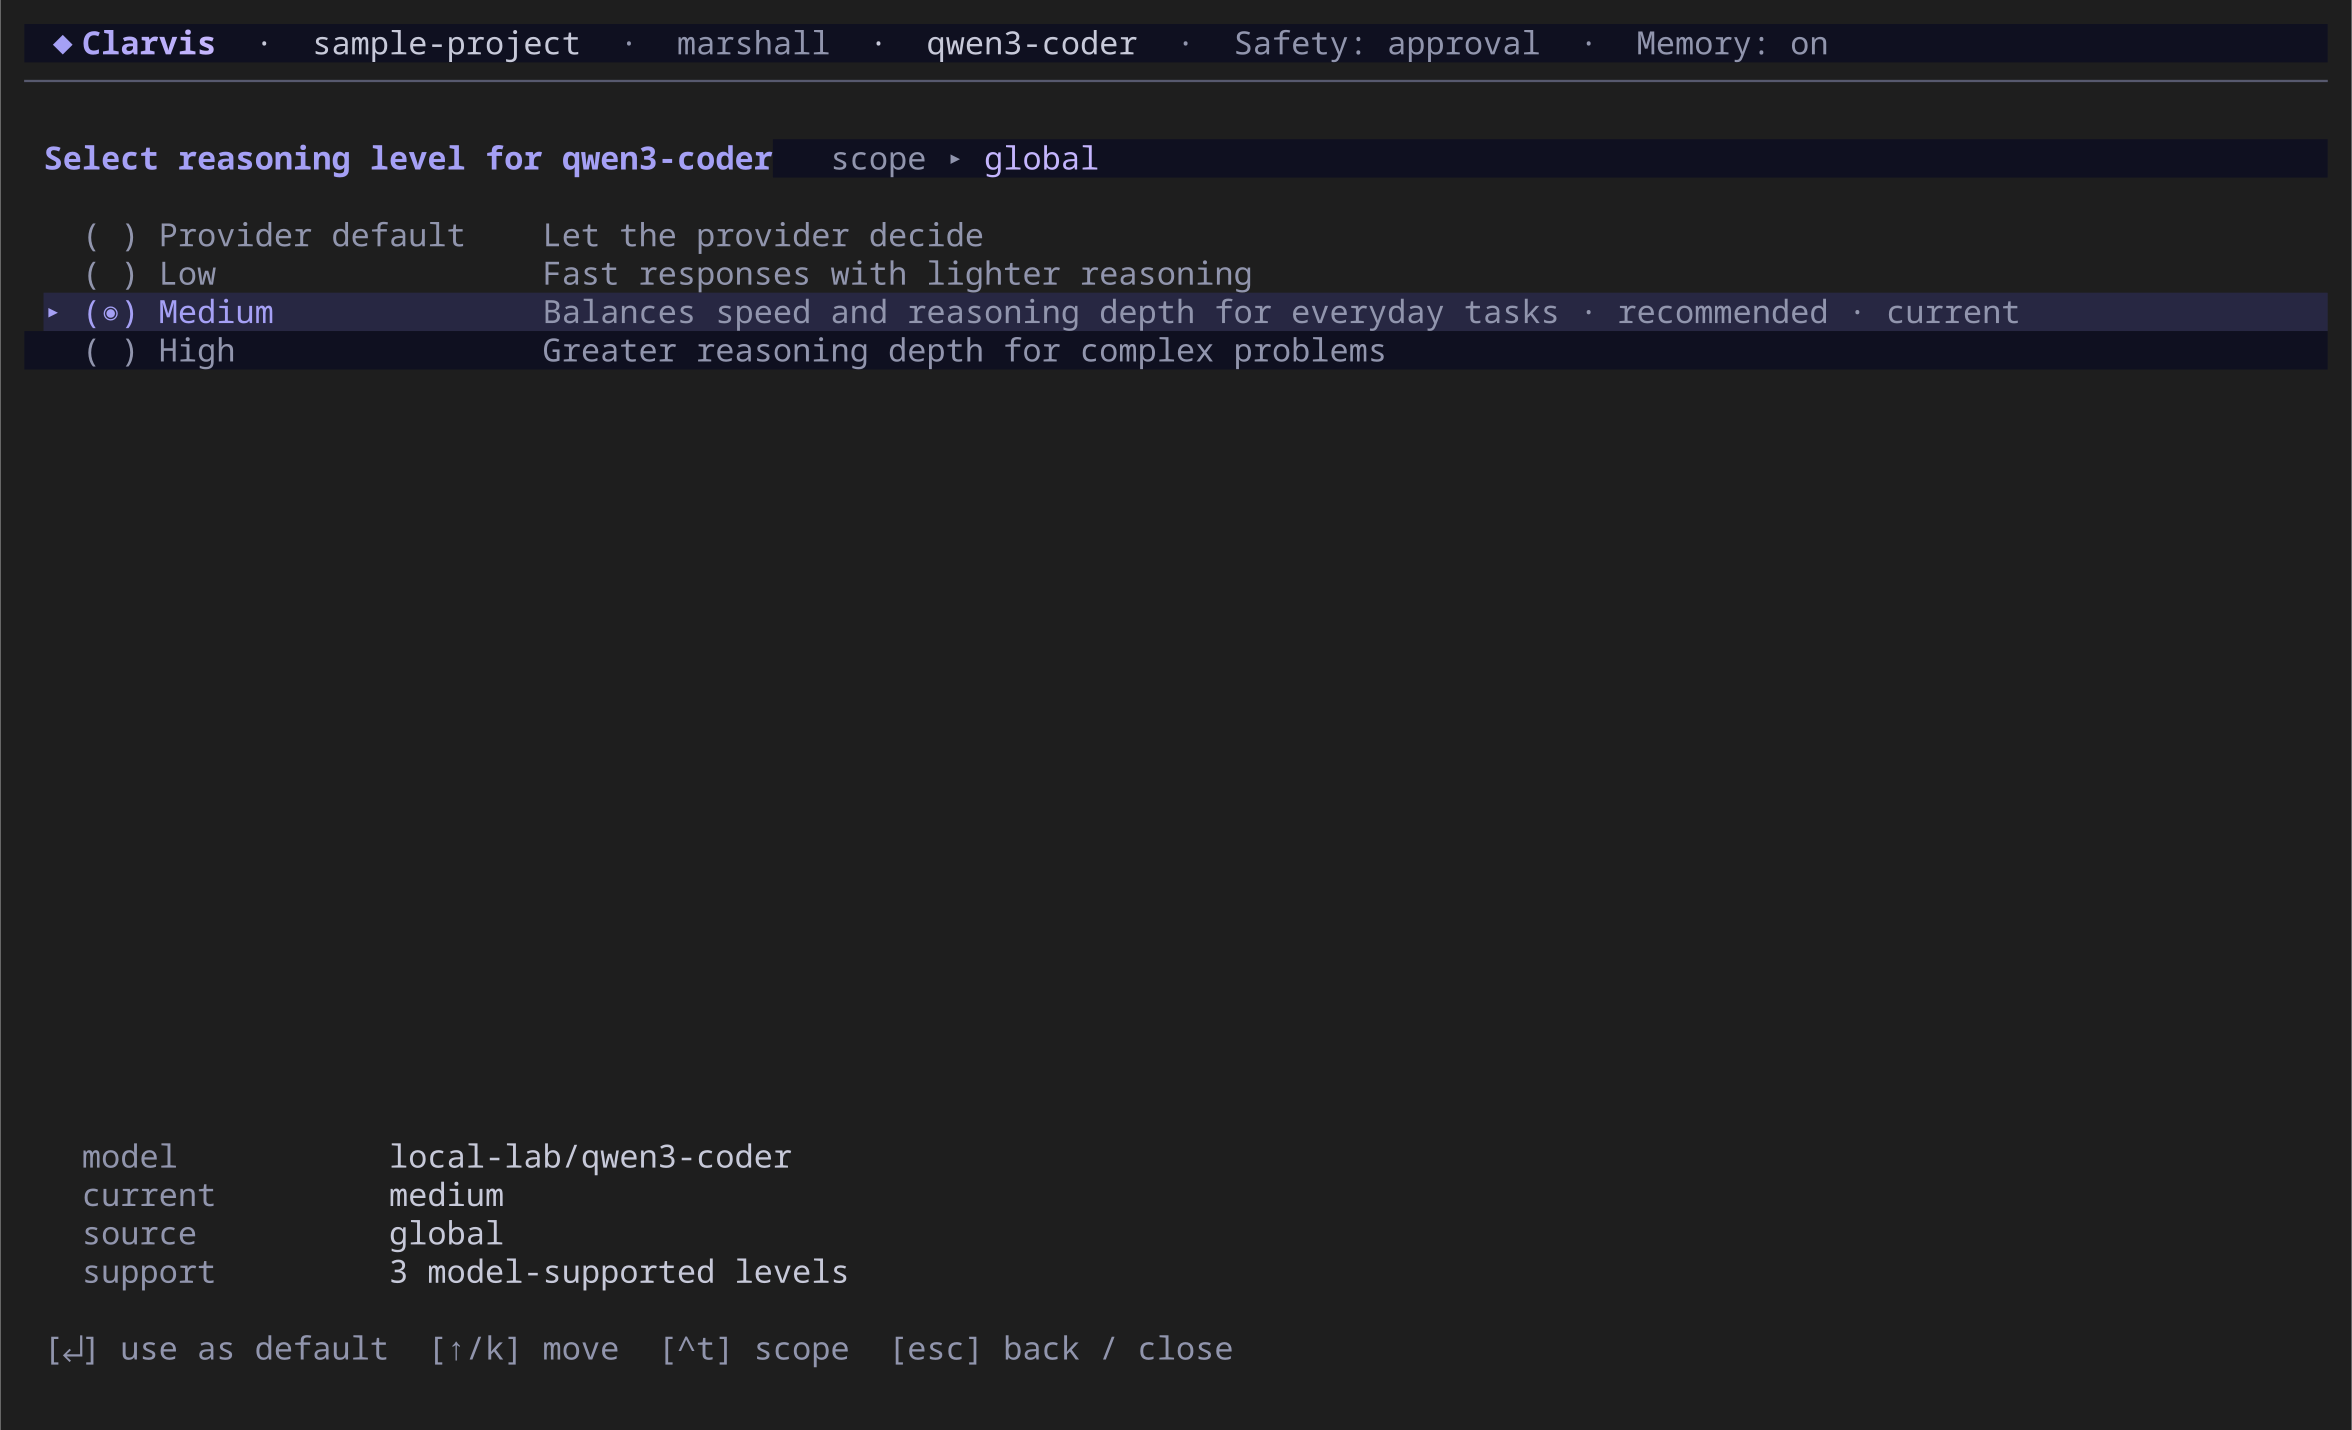
If /effort reports that support is unknown, review the model in /settings/providers, refresh the catalog, or add the model's published metadata. Clarvis does not invent unsupported levels.