
Getting started
Install Clarvis, connect a model, and run your first task in a project.
If Clarvis is not installed yet, start with the public v0.1.1 installation guide.
Open the project you want Clarvis to work on
Start from the project directory that should become the active workspace:
cd path/to/your-project
clarvis
Clarvis works in the folder where you start it. This folder is called the workspace. Each workspace has its own project settings, agent definitions, workflows, and session history.
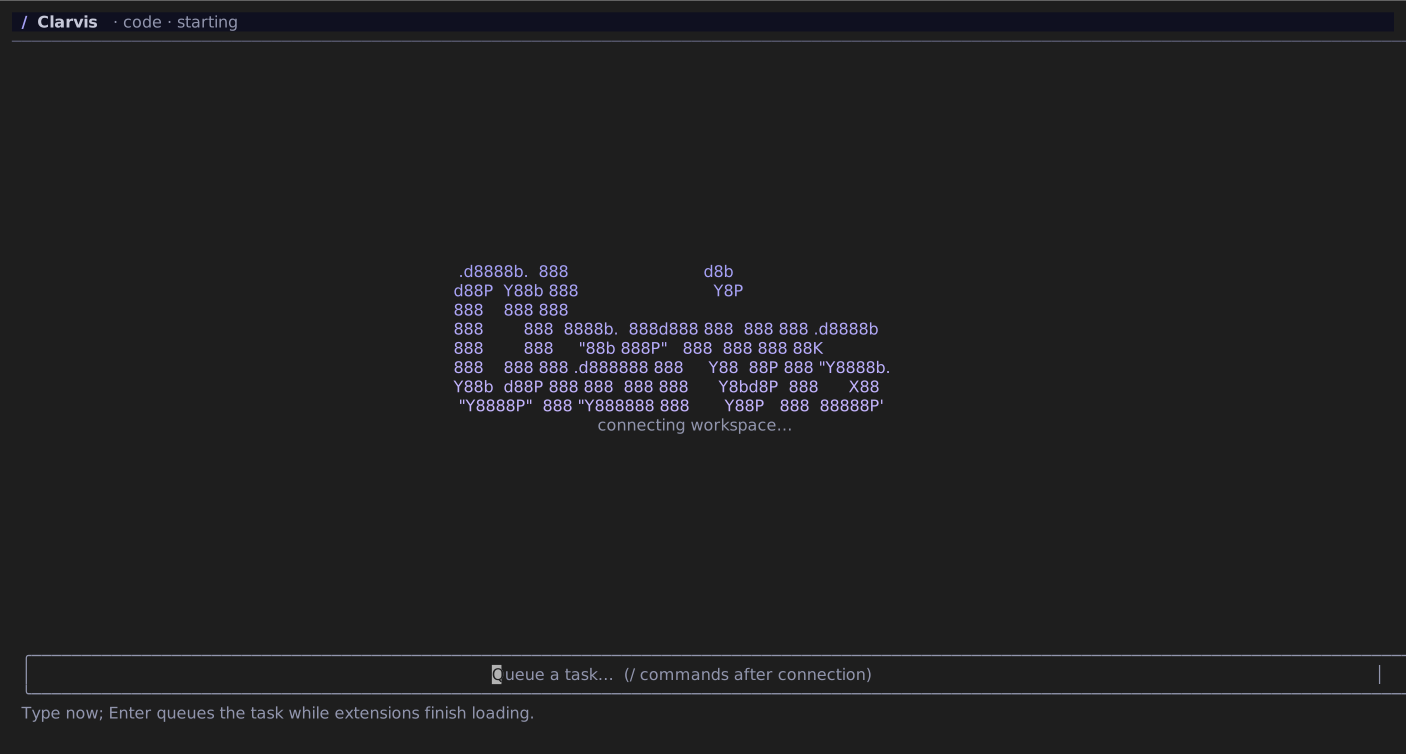
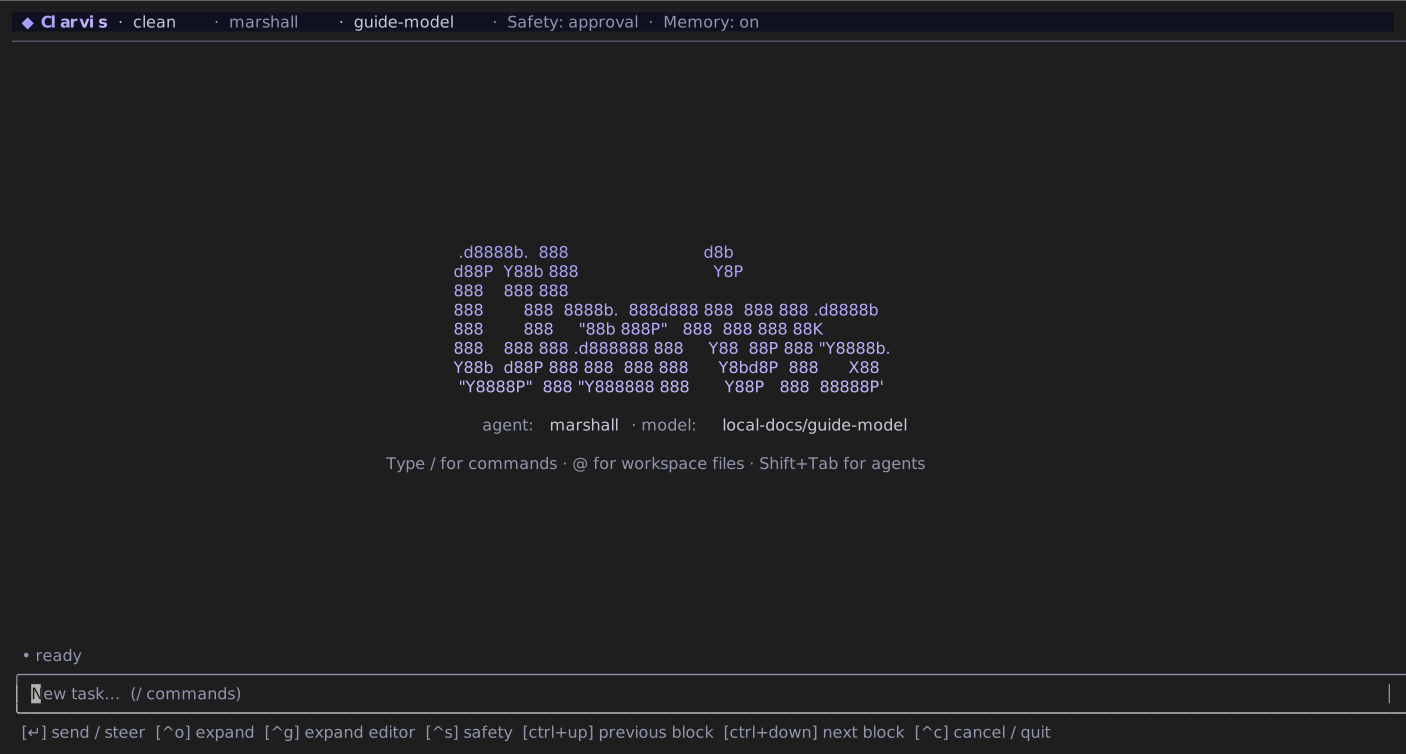
Clarvis opens a lightweight message field while the workspace connects, so you can start typing immediately. A submitted task begins as soon as the workspace is ready; when first-run setup is still required, Clarvis preserves the text as your draft.
Complete the first-run setup
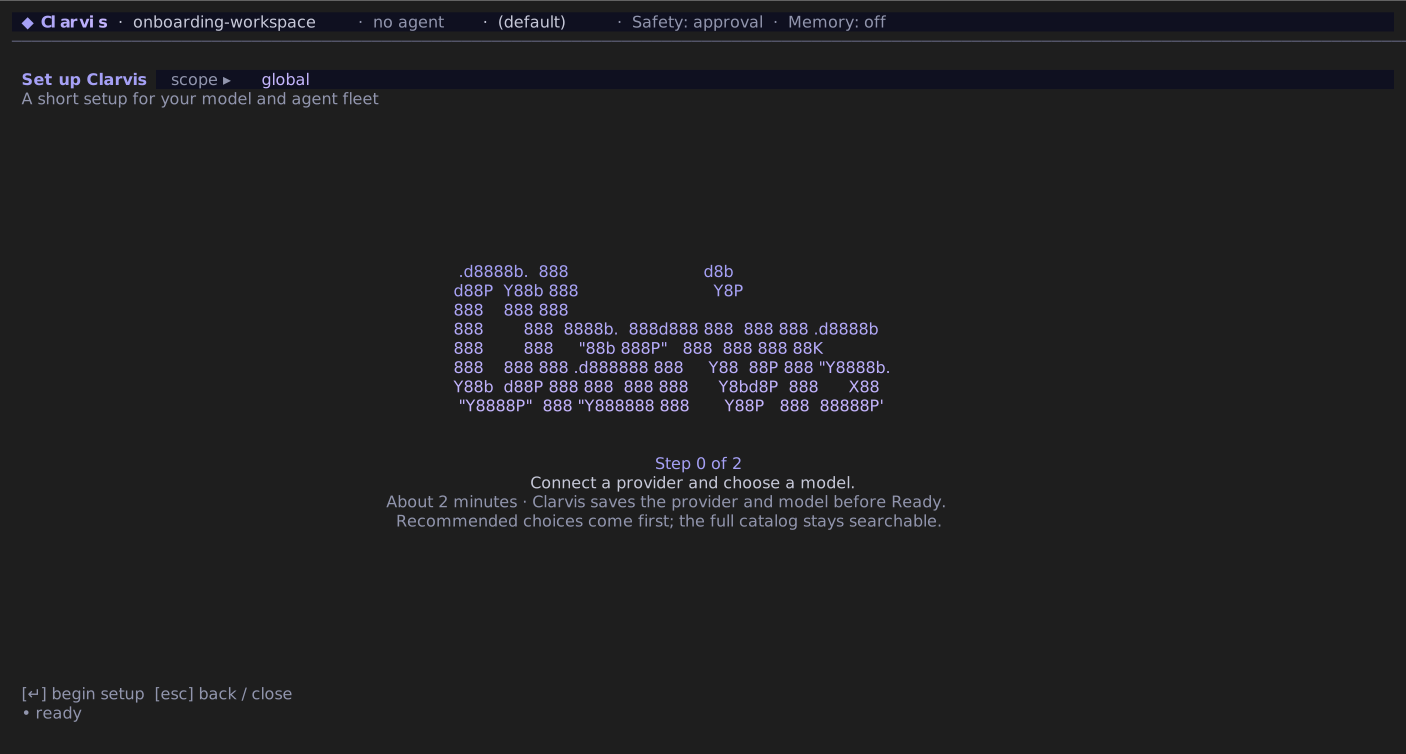
On a fresh configuration, Clarvis opens a short setup instead of an empty transcript:
- Press Enter to begin.
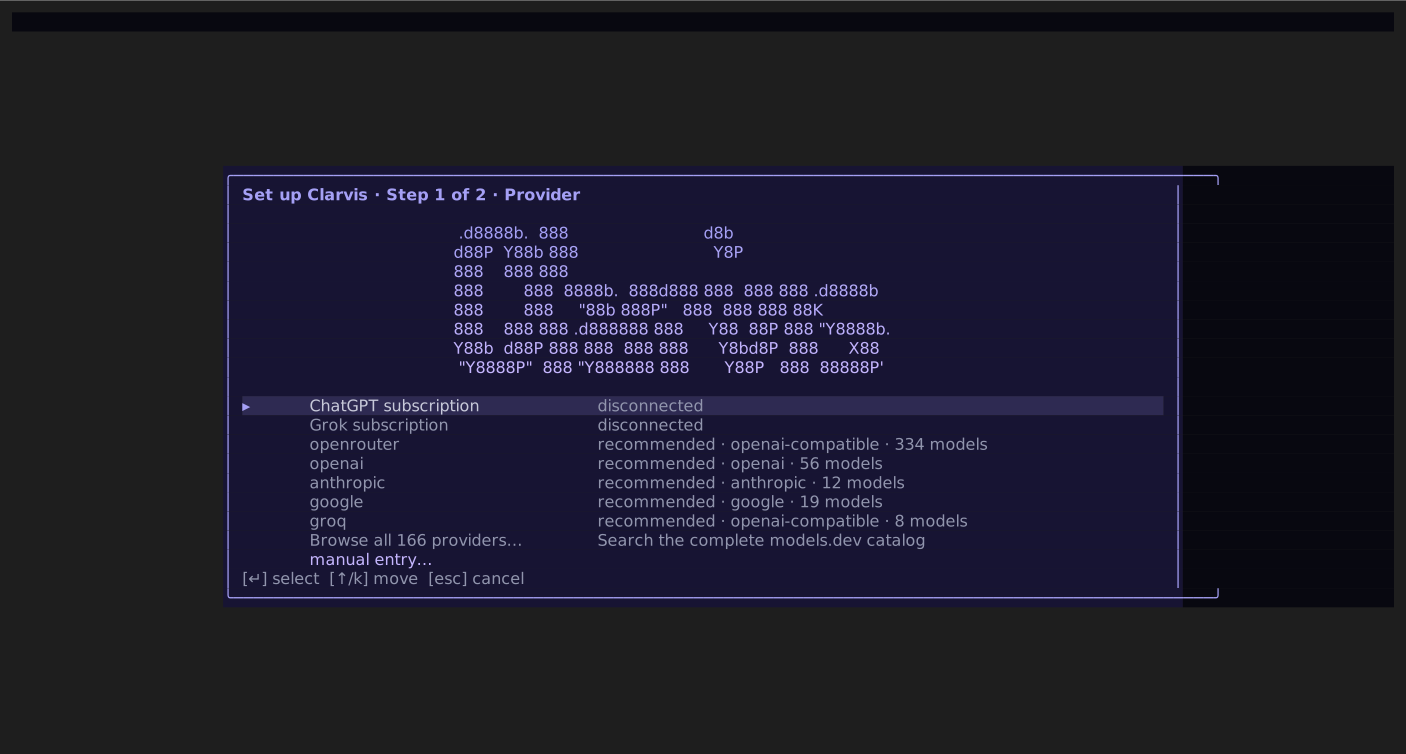
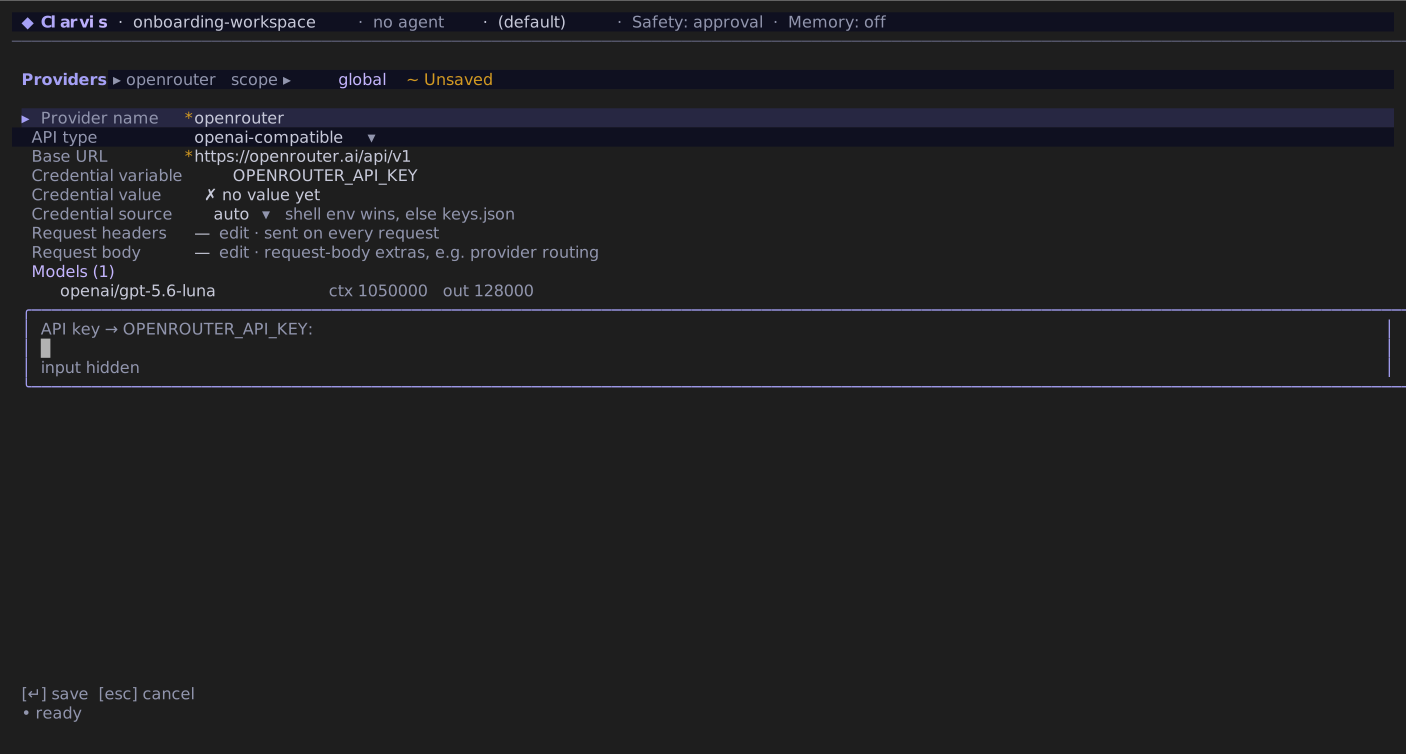
- Choose a recommended provider, select Browse all providers to search the complete catalog, or select manual entry... for a local server or private gateway.
- Follow the matching path below. Setup saves as soon as the first provider and model are complete; you do not need to press Ctrl+S in this first-run flow.
- Wait for the Clarvis is ready screen, verify the displayed agent and model, then press Enter to open the workspace.
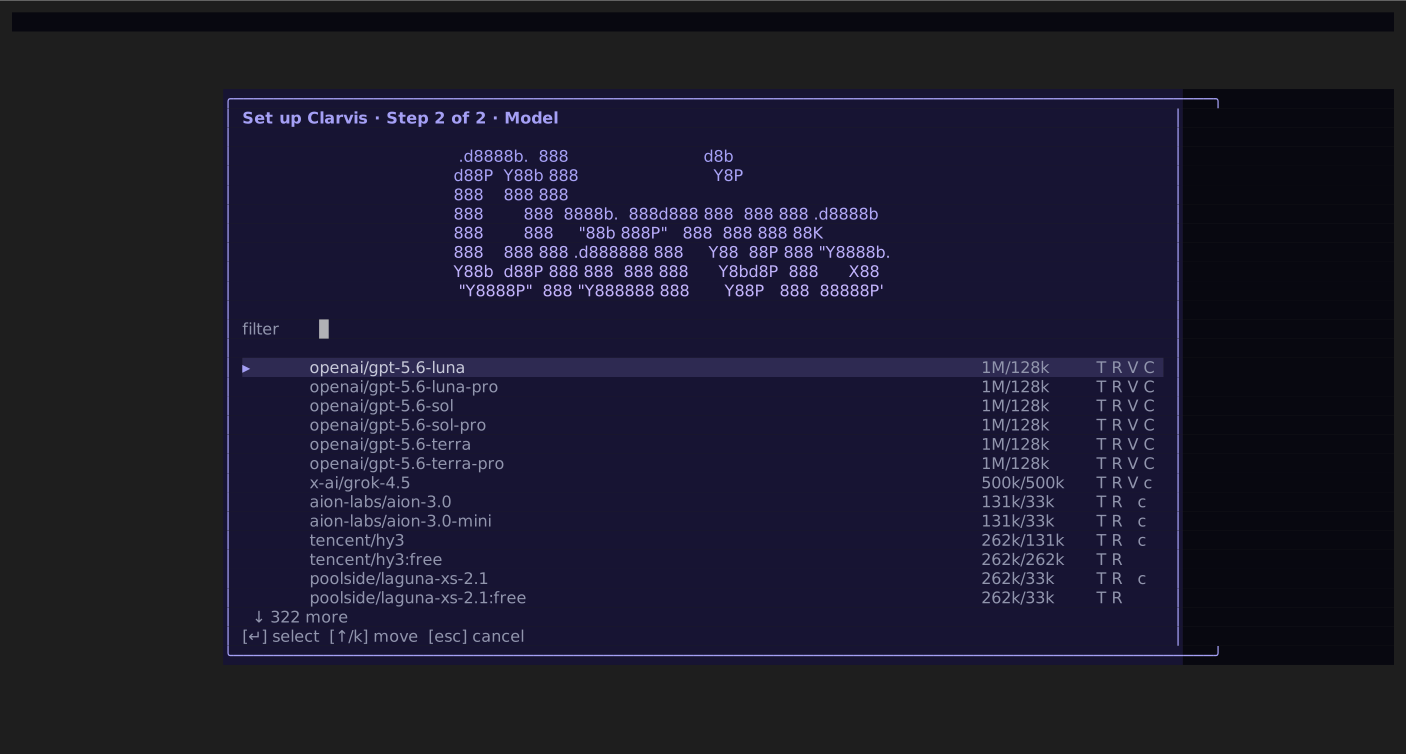
The real first-run sequence below uses an isolated demonstration profile. No credential is shown or stored in these guide images.
API provider from the catalog
- Select the provider and press Enter.
- Select the model you want to use first.
- Enter the requested API key if the configured environment or credential store does not already provide it. Clarvis stores a typed value in its credential store and does not render it back into the terminal.
- Wait while Clarvis saves the provider and makes
provider/modelthe global default.
ChatGPT or Grok subscription
This beta path depends on provider and account eligibility and does not imply provider endorsement of Clarvis. If the subscription row is unavailable, use an API provider or a compatible local endpoint instead.
- Select the subscription row and start the displayed device flow.
- Open or copy the verification URL, then enter the public device code on the provider's site.
- Return to Clarvis and wait for the models available to that account.
- Select the model you want to make available. Clarvis completes setup after saving the entitled model.
Local server or private gateway
- Select manual entry....
- Give the connection a stable provider name, such as
local-lab. - Choose the API type. Use
openai-compatiblefor an endpoint that implements that API. - Set the complete API root, such as
http://127.0.0.1:11434/v1. - Configure a credential environment variable only when the endpoint requires one.
- Press A from the provider detail, enter the exact server model ID such as
qwen2.5-coder:7b, and press Enter. Provider-native tags after:are supported.
The resulting model reference is local-lab/qwen2.5-coder:7b. The manual flow starts with a 128,000-token context window; review the model later in /settings/providers if the server publishes a different limit.
Setup makes the selected model your default, enables the ordinary command-review, memory, and planning defaults, and selects marshall as the initial lead agent. It does not create agent or workflow files: the standard fleet and built-in workflows are already available.
If the provider catalog cannot be loaded, exit setup, run clarvis --refresh-models, and start clarvis again. A custom or local provider remains available through manual entry... even when the public catalog is unavailable.
If Clarvis finds an existing configuration that cannot start a run, it opens a focused repair screen for the first blocking issue. /doctor remains available later when you want the complete readiness report.
Review the safety settings
Before requesting a change, check which safety preset is active. From the message field, Ctrl+S opens the safety-preset picker. You can always reach the same controls through /settings/controls.
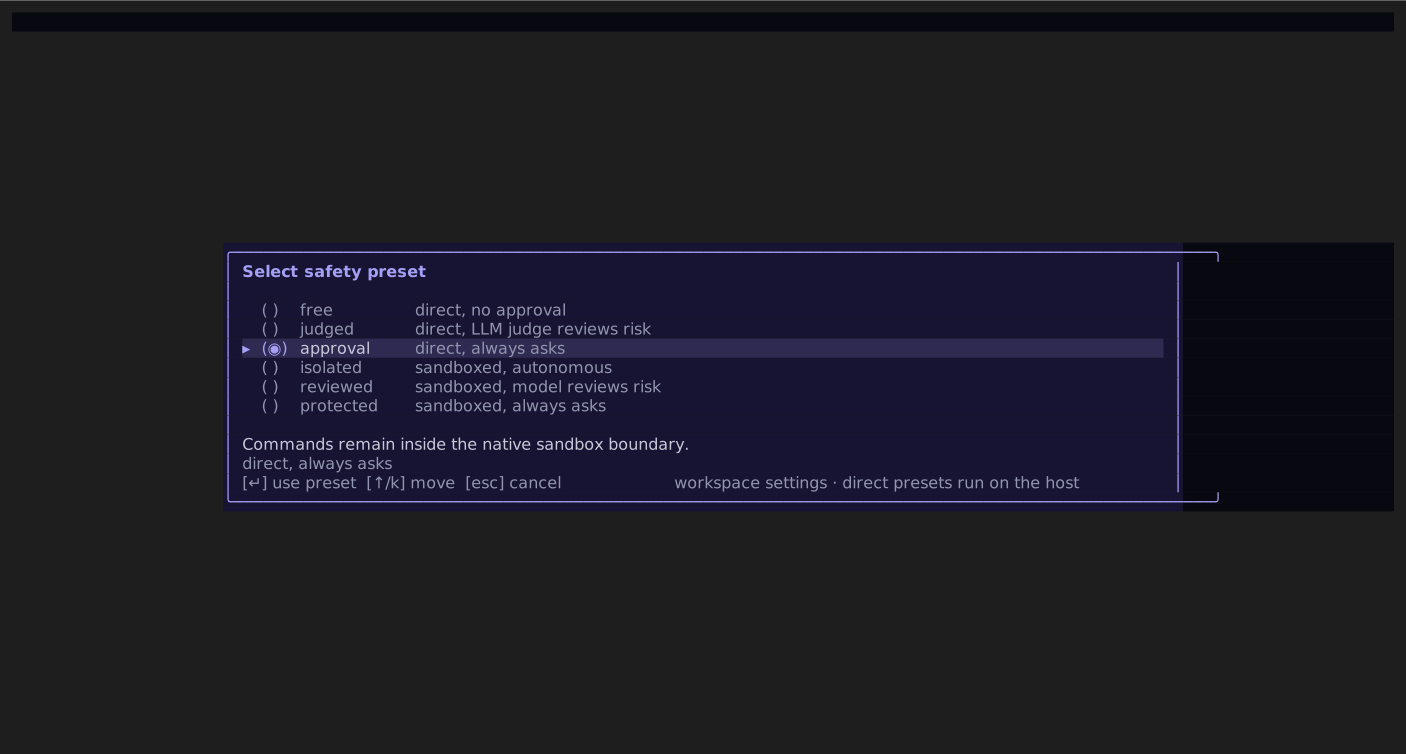
The presets combine two independent choices: whether commands run inside the sandbox, and whether a human or model reviews risky commands. free and judged run outside the sandbox and therefore require an additional danger confirmation before Clarvis applies them.
For a fuller explanation of sandboxing, command review, and the available presets, continue to Safety and control. For settings fields and precedence, use the configuration reference.
Give Clarvis a first task
The message field accepts ordinary language. Start with a bounded, read-only request so you can see how the transcript, tools, and approvals work together:
Review this repository and explain how its test suite is organized. Do not edit files.Press Enter to send. While the run is active, the message field changes from a new-task input to a steering input. A follow-up such as this joins the same run instead of starting a second one:
Focus on the integration tests and call out any obvious coverage gaps.When you are ready to make a change, state the outcome, important constraints, and how you expect it to be verified:
Add validation for empty display names. Preserve the existing error style, run the focused tests,
and summarize the files you changed.
Clarvis may ask you to approve a command, answer a question, or review a proposed plan. Read the request and its effects before accepting it; the agent continues from your decision.
As soon as the run result settles, the message field returns to new-task mode. Background memory indexing may continue updating status briefly, but the next submitted message starts a new run instead of steering the completed one.
Use the essential controls
The active footer shows the bindings that apply to the current screen. These defaults are the ones worth learning first:
| Control | What it does |
|---|---|
| Enter | Send a new task or steer the active run. |
| Escape | Clear a draft, close the current layer, or return to its parent. |
| Ctrl+C | Cancel active work; when idle, use the displayed confirmation to quit. |
| Ctrl+S | Open safety presets from the message field; save staged changes on settings screens. |
/help | Open the full-page reference for actions, destinations, syntax, and effective keys. |
Type a bare / to browse available commands. The list is contextual, so it shows only routes and actions that are currently usable. If a terminal cannot deliver an enhanced key reliably, use the slash route or visible footer action instead.
Continue or start fresh
Clarvis persists sessions for the current workspace.
/sessionsopens the session browser.clarvis --continueresumes the most recently used session for the current workspace./statusshows the active agent, model, run state, and usage./exportwrites the complete persisted transcript to a file./cleararchives the current session and starts a fresh one.
Use /compact when you deliberately want to reduce the context carried into the next model call. You can add a short instruction, such as /compact preserve the API decisions and unresolved test failure, to tell the agent what the summary must retain.
Choose what to learn next
- Daily use: steering, plans, sessions, transcripts, and the normal operator loop.
- Safety and control: workspace trust, sandboxing, command review, and presets.
- Configuration: settings fields, scopes, defaults, and precedence.
- Providers and models: add API or subscription providers, manage models, and choose model and effort defaults.
- Plans, memory, and tasks: review intent, retain durable project knowledge, and connect external work items.
- Worktrees: isolate a branch in its own checkout.
- Agents: switch the current lead, customize a shipped agent, or create your own.
- Extensions: understand how marketplaces, plugins, skills, and Extension Profiles fit together.
- Workflows: define repeatable multi-agent execution and inspect runs with
/workflow. - MCP servers and Hooks: connect tools and lifecycle automation.
- Plugins and Marketplaces: install packaged extensions, then select them in the active Extension Profile.